
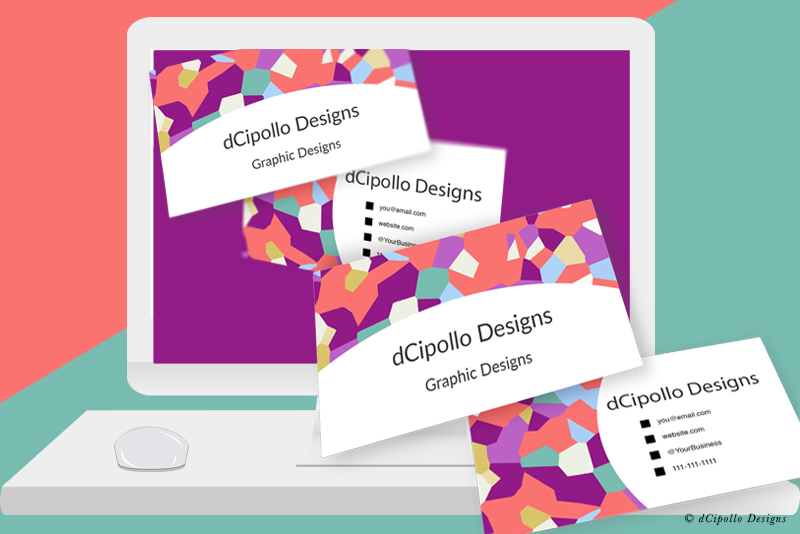
Design a Business Card Template in Photoshop CC
In this tutorial, we will build a business card template in Photoshop CC. We will use Artboards to organize the design layers for the front and back of the card.
Let's start by creating a new Photoshop document that has the full bleed dimensions for the business card, which is 3.75 x 2.25 inches at 300 ppi for printing. It is your choice to set the Color Mode to CMYK or RGB. As I usually design for print on demand sites such as Zazzle.com, I use RGB as my color profile.
There are many ways to create a template but this is the most accurate method I have found. So let's get started.
Optional: You may wish to add another artboard that will contain information about the colored lines. If so do the following (see screenshot).
Copyright 2018 Adobe Systems Incorporated. All rights reserved. Adobe product screen shot(s) reprinted with permission from Adobe Systems Incorporated. Adobe, Photoshop, Photoshop Album, Photoshop Elements, Illustrator, InDesign, GoLive, Acrobat, Cue, Premiere Pro, Premiere Elements, Bridge, After Effects, InCopy, Dreamweaver, Flash, ActionScript, Fireworks, Contribute, Captivate, Flash Catalyst and Flash Paper is/are either [a] registered trademark[s] or a trademark[s] of Adobe Systems Incorporated in the United States and/or other countries.
Let's start by creating a new Photoshop document that has the full bleed dimensions for the business card, which is 3.75 x 2.25 inches at 300 ppi for printing. It is your choice to set the Color Mode to CMYK or RGB. As I usually design for print on demand sites such as Zazzle.com, I use RGB as my color profile.
There are many ways to create a template but this is the most accurate method I have found. So let's get started.
- Start a new document with the following (see screenshot).
Width: 3.75 inches
Height: 2.25 inches
Artboards: Checked
Resolution: 300 ppi
Color Mode: RGB, 8 bit
Background Contents: White
You should have one artboard which contains one empty layer. - Fill the empty layer with any color.
Now, we will turn this layer in to the line that indicates the Bleed area, using Layer Styles. - Double-click the layer to open the Layer Style panel. Set the following (see screenshot).
Blending Options - Advanced Blending - Fill Opacity - 0%.
Stroke - Structure:
Size: 2 pixels
Position: Center
Blend Mode: Normal
Opacity: 100%
Fill Type: Color
Color: Red
Now we will create the line that will indicate the Trim area, starting with a new layer. - Add a new layer above the last layer in the Layers panel.
We will use the Rectangle tool to draw a rectangle. - Select the Rectangle tool and set the Tool Mode to Pixels in the Options bar (see screenshot).
- Draw a rectangle on to the artboard.
- In the Properties panel, set the Width to 3.5 inches and the Height to 2 inches (see screenshot).
- Select the Move tool and use the Vertical Centers and Horizontal Centers Distribution buttons in the Options bar (see screenshot) to center the rectangle within the artboard.
- Copy the layer style from the previous layer and paste it on to this new layer.
- Double-click to open the Layer Style panel. Change the Stroke color to blue.
Now we will create the line that will indicate the Safe area, again on a new layer. - Repeat the previous steps to create another rectangle that is 3.25 x 1.75 inches and centered (see screenshot).
- Use the Layer Style to change the line to green.
Let's merge these layers so that we have the lines all on one layer. - Select the three layers and choose Merge Layers from the Panel menu. Rename the layer to Bleed, Trim and Safe Areas.
Now, we will make this the business card front artboard and create another artboard for the back of the card. - Select the artboard and rename it Business Card Front.
- With the Business Card Front artboard still selected, select the Artboard tool.
You will see four plus icons appear at the edges of the artboard (see screenshot). - Hold the Option key and click on the plus icon on the right edge of the artboard. This will duplicate the artboard and its contents.
- Rename this new artboard to Business Card Back .
- In the Layers panel, drag the Business Card Back artboard group under the Business Card Front group (see screenshot).
Optional: You may wish to add another artboard that will contain information about the colored lines. If so do the following (see screenshot).
- Duplicate the Business Card Back artboard but this time do not use the Options key. This will duplicate the artboard without its contents.
- Drag this new artboard above the other two artboards in both the Layers panel and in the workspace (see screenshot).
- Use the Type tool to add your instructions.
Copyright 2018 Adobe Systems Incorporated. All rights reserved. Adobe product screen shot(s) reprinted with permission from Adobe Systems Incorporated. Adobe, Photoshop, Photoshop Album, Photoshop Elements, Illustrator, InDesign, GoLive, Acrobat, Cue, Premiere Pro, Premiere Elements, Bridge, After Effects, InCopy, Dreamweaver, Flash, ActionScript, Fireworks, Contribute, Captivate, Flash Catalyst and Flash Paper is/are either [a] registered trademark[s] or a trademark[s] of Adobe Systems Incorporated in the United States and/or other countries.

Related Articles
Editor's Picks Articles
Top Ten Articles
Previous Features
Site Map
Content copyright © 2023 by Diane Cipollo. All rights reserved.
This content was written by Diane Cipollo. If you wish to use this content in any manner, you need written permission. Contact Diane Cipollo for details.


